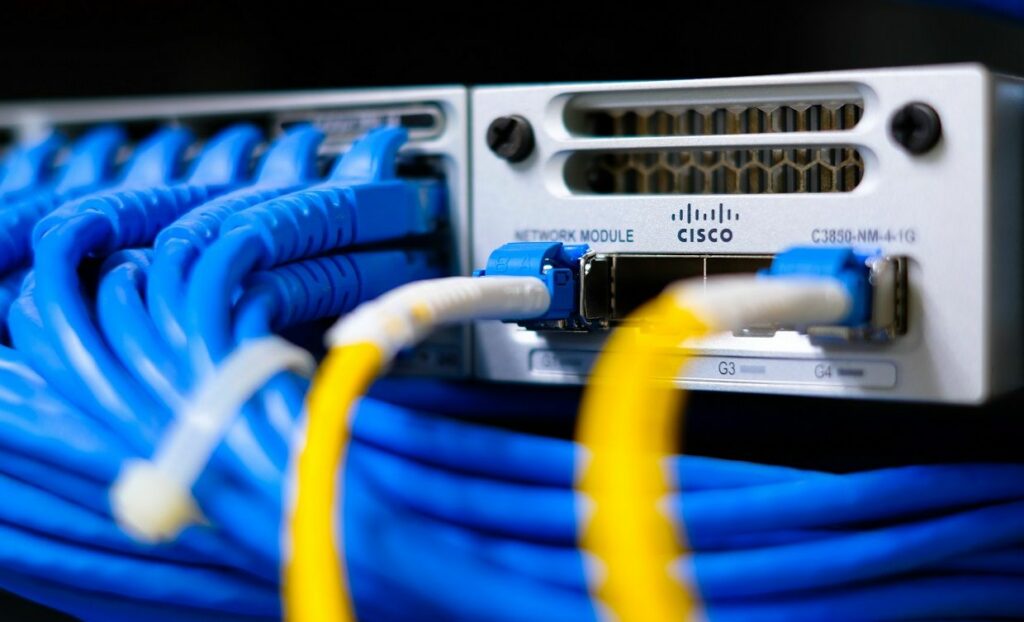
Securing network access points is a critical step in maintaining the integrity of any IT environment. Port security on Meraki switches plays a vital role in this effort by controlling and restricting device connections to your network. Whether you want to prevent unauthorized devices, mitigate MAC address spoofing, or simply strengthen overall network security, Meraki’s cloud-managed switches make the process straightforward and efficient.
Configuring port security on Meraki switches combines simplicity with powerful security features, all accessible through the Meraki Dashboard. This cloud-based platform offers centralized management, real-time monitoring, and robust policy enforcement, making it easier than ever to secure your network. In this guide, we will walk you through the process of switch port configuration, covering everything from preparation to advanced options for enhanced security.

Port security is a feature that controls which devices can connect to a specific switch port. It achieves this by monitoring and limiting the number of Media Access Control (MAC) addresses allowed on a port. If an unauthorized device attempts to connect, the switch can trigger actions such as shutting down the port, sending an alert, or restricting the connection.
Meraki switches leverage the Meraki Dashboard, a cloud-based interface, to simplify port security configuration and management. This platform allows IT administrators to manage settings and monitor security events across multiple switches and networks from a single location.
Key features include:
Meraki’s centralized approach ensures IT administrators can monitor and manage switch port configurations efficiently, reducing complexity while enhancing overall security.
By limiting which devices can connect to a port, port security ensures that only authorized users and devices have access to your network. This is especially important in environments with shared access points, such as corporate offices, schools, or co-working spaces.
Cybercriminals often use spoofed MAC addresses to impersonate legitimate devices. With port security, Meraki switches can detect and block these attempts, protecting sensitive data and preventing potential breaches. Meraki port configuration ensures that your network stays secure against these sophisticated attacks.
The Meraki Dashboard provides real-time monitoring and alerting capabilities, allowing IT teams to respond quickly to security violations. Centralized logging and reporting ensure visibility into device connections and potential threats across the entire network. This level of control streamlines switch port management, saving time and resources.
Before configuring port security, you must prepare your network and ensure you meet specific requirements. This preparation helps avoid misconfigurations and ensures a smooth setup process.
By preparing these elements, you can ensure a seamless and error-free Meraki port configuration process.

Log in to your Meraki Dashboard using your administrator credentials. Navigate to the network containing the switch you wish to configure. The dashboard provides a user-friendly interface for managing all aspects of switch port management.
Go to the Switch Ports page under the “Switch” section. Locate the port you intend to secure. Use search or filter options if needed to find the correct port quickly. Identifying the correct port is crucial for effective security implementation.
For port security to work effectively, the port must be set to Access mode. Click on the port and ensure the Port Type is set to “Access.” If the port is set to Trunk, adjust it accordingly. This step ensures that the port is configured correctly for specific device connections.
Choose an action for unauthorized access attempts:
After applying the settings, save the configuration. This ensures that your changes are implemented and persist through reboots. Always double-check the configuration before finalizing.
Test the setup by connecting authorized and unauthorized devices to the port. Monitor the Event Log in the Meraki Dashboard to confirm that violations are logged and actions are triggered as expected. Testing ensures that the Meraki port configuration is working as intended.
Port security can work in tandem with VLAN configurations to enhance network segmentation. For example, you can assign a port to a specific VLAN and restrict device connections within that VLAN. This approach adds another layer of security and organization to your network.
Use group policies to apply consistent security settings across multiple ports. This is particularly useful for managing large networks where many ports share similar configurations. Group policies simplify switch port management by reducing the need for repetitive manual adjustments.
Enable notifications for port security violations to ensure IT teams are immediately informed of potential issues. Alerts can be configured via email or SMS for real-time updates, enabling faster responses to security events.
If legitimate devices are locked out:
If enabling port security disrupts connectivity:
The Meraki Dashboard’s Event Log is an invaluable tool for diagnosing and resolving port security issues. Regularly review logs for insights into potential misconfigurations or unauthorized access attempts.
Cisco Meraki switches offer a comprehensive approach to network security and management. Their advanced features, combined with a user-friendly interface, make them an ideal choice for businesses of all sizes.
The Meraki Dashboard simplifies configuration, monitoring, and troubleshooting, making switch port management more accessible. Administrators can manage multiple switches and networks from a single platform, reducing complexity and improving operational efficiency.
Easily expand your network without sacrificing performance or security. Meraki’s scalable solutions make it easy to adapt to growing business needs while maintaining robust security protocols. This ensures that Meraki port configuration remains effective as your network evolves.
Meraki switches integrate effortlessly with other Cisco solutions, creating a unified security ecosystem. This integration enhances visibility and control across your entire IT infrastructure, allowing for better decision-making and streamlined operations.
Configuring port security on Meraki switches is an essential step toward creating a secure and well-managed network. By following the steps outlined in this guide, you can protect your organization from unauthorized access, mitigate security risks, and ensure smooth network operations.
Whether you’re managing a small business network or a large enterprise, Meraki port configuration provides the tools you need to stay secure. With features like centralized management, real-time monitoring, and advanced security options, Cisco Meraki switches are designed to meet the demands of modern IT environments.
Contact Stratus Informational Systems to learn more about Cisco Meraki switches and how they can enhance your network’s security and performance. Our team of experts is ready to assist you in selecting and implementing the best Meraki solutions for your business needs.

Stay informed about our newest releases and updates